Here’s some food for thought: Most of your content just sits there, not too long after publishing. It does some rounds of initial views and engagement, but soon gets buried under all the other content being put out there by everyone else (including your competitors).
However, your blog post, newsletter, or whitepaper doesn’t have to collect digital dust. With the right tools, it can bring in yields (directly or indirectly) for months, even years. After all, whether it’s direct sales, lead gen, or free trial sign-ups, the end goal should be revenue, not just “more engagement.” For instance, turning an article about P&L into a profit and loss statement template gives your audience something they can use immediately for better financial decisions—and that kind of value can turn readers into leads
The trick is to first have a mindset shift from viewing a piece as “content” to an “asset”. Assets can be repurposed, packaged, and sold. They can pull in leads while you sleep. They can turn casual readers into paying customers.
In this post, we’ll run through some of the best tools that help you do exactly that. We’re talking platforms that turn your words into products, leads, and revenue streams.
1. Canva (Text → Shareable Graphics & Carousels)
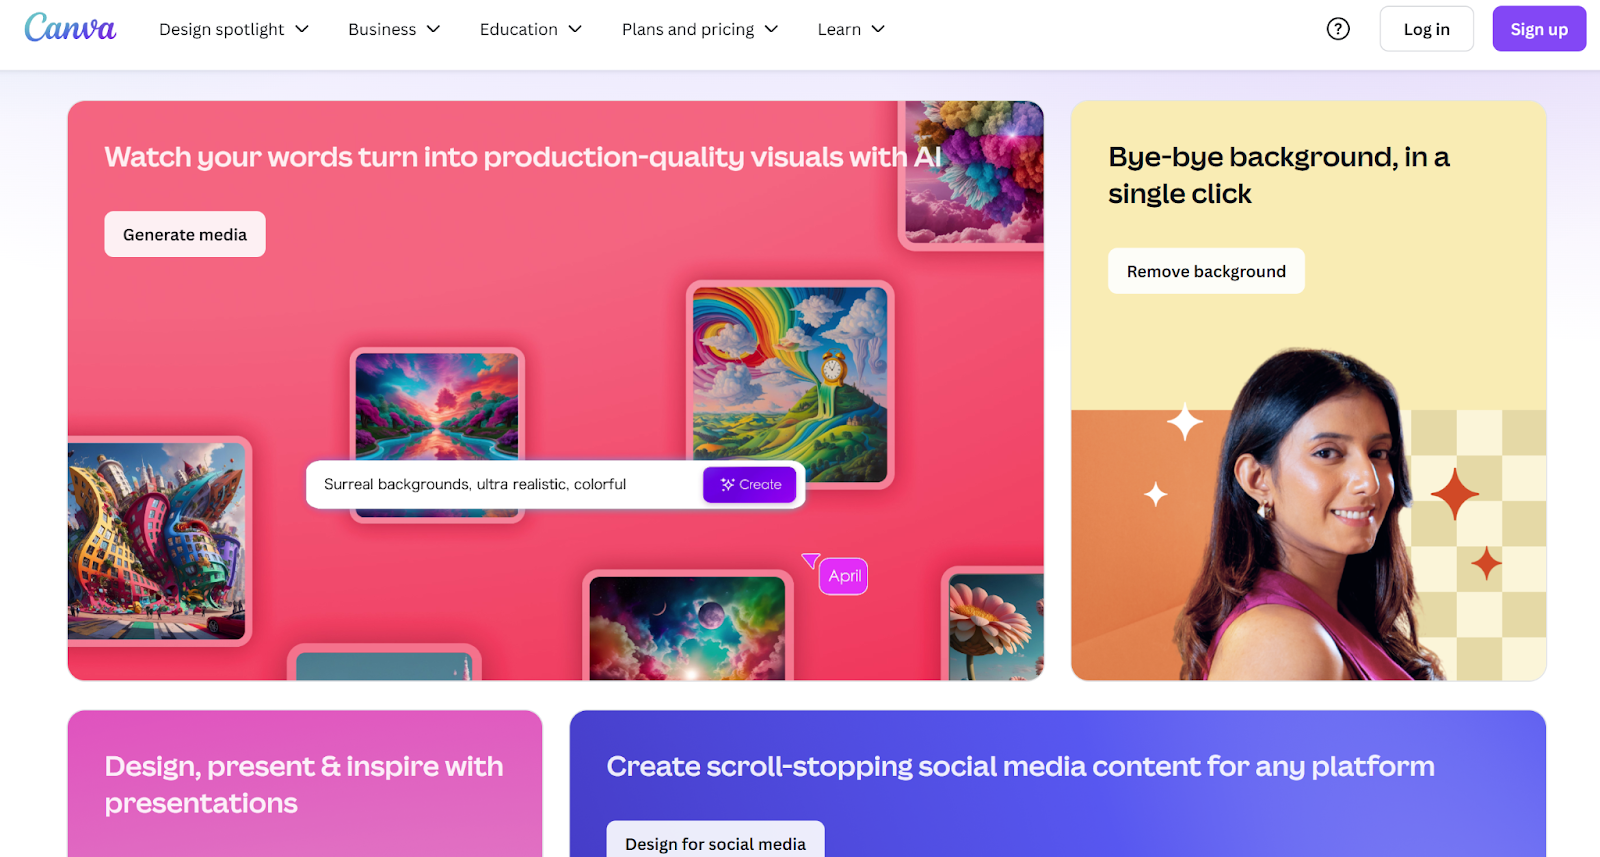
Canva turns chunks of text into ready-to-post visuals in the form of carousel slides, quote cards, social media posts, and more. It offers:
Magic Design: Drop in a prompt or media, and Canva auto-generates polished layout options for your content.
Magic Write: Built-in AI copy assistant. It drafts captions, slides’ text, or supports bulk changes of tone and format.
Bulk Create: Use a Canva Sheet or data table to spin up dozens of branded slides or cards in one go.
Content Planner: Design, schedule, and post your graphics directly from Canva to platforms like Instagram, LinkedIn, and Facebook, while tracking basic engagement metrics.
Who it’s best for
Anyone who wants to stretch their written content into visual reach without needing a design degree or juggling multiple tools.
Pricing snapshot
The free plan gives you access to basic templates and limited Magic Design and Magic Write usage. Canva Pro unlocks premium content such as images, videos, templates, full access to Magic Studio AI tools like Magic Switch, Magic Animate, Magic Resize, and the Content Planner.
Setup steps (quick-start guide)
Open Canva and choose a carousel or post template that fits your platform.
Paste or summarize your blog content into Magic Design to get a layout draft. Click a version to edit.
Use Magic Write to refine text for each slide. Tweak tone, shorten, or rewrite as needed.
For scale, create a Sheet with your slide headers or quotes and use Bulk Create to auto-generate a full carousel.
Polish visuals with colors, fonts, and your brand kit, then schedule via Content Planner to hit your feed at peak times.
Pro Tips
Start with your top-performing posts since they are already proven winners.
Use Magic Write to experiment with different tones like casual, punchier, or shorter bullets.
Use Bulk Create to spin out a quote-a-day lineup or a social media teaser series in minutes.
Pitfalls to avoid
Not all AI-generated layouts are perfect, so always check alignment and readability.
Watch out for usage limits on free plans since some Magic features are capped unless you upgrade.
2. Lumen5 (Text → Short-Form Videos)
Lumen5 is a video creation platform powered by AI. It lets you turn your blog posts, articles, or documents into short videos in minutes. It breaks your text into a script, matches each scene with visual media, places text optimally, and sets timing—all based on reading speed. It handles the heavy lifting while you stay in the editor’s seat.
Who it is best for
Content creators or marketers who want quick, visual versions of their blog posts. It’s perfect for creating Reels, YouTube Shorts, or LinkedIn clips from your written work. No video editing experience needed.
Pricing snapshot
Community (free forever) gives you limited features, includes Lumen5 branding, 720p resolution, a watermark, and up to five videos per month. The Basic plan is around $29 per month, billed monthly, or about $19 per month billed annually. It adds features like 1080p, custom colors and fonts, 50 million media assets, and removes branding. The Starter and Professional tiers are around $79 to $199 per month, adding more templates, stock assets, brand kits, saved templates, and watermark options.
Setup steps (quick-start guide)
Paste your blog post URL or copy/paste the text to import it. The AI will auto-generate a video draft.
Review the scenes. Edit text, change visuals, tweak typography like you would in a presentation.
Swap designs or styles per slide, add branding colors or fonts if you're on a paid plan.
tryinteract.com
Insert media from the built-in stock library. Drop in visuals that align with the message or tone.
Set how long each slide shows. Longer for big ideas, shorter for quick points. Preview and tweak the flow.
Pro Tips
Use older posts that already perform well. They’re proven, so clips based on them will land better.
Use ChatGPT to distill longer text into a 30 or 60-second script, then feed it to Lumen5 for a tighter flow.
Always preview before publishing. Small tweaks to timing, visuals, or order can make a big difference.
Pitfalls to avoid
Free plans limit customization. You may need to upgrade for branding, aspect ratios, or higher resolution.
Templates can look similar. It may take extra editing to make your video feel unique.
3. Podia (Text → Courses, Bundles, Memberships)
Podia is an all-in-one platform for selling digital products. You can turn your written content into courses, bundles, memberships, downloads, and even host webinars. It comes with built-in website hosting, checkout, and email marketing, so you don’t need to piece together multiple tools.
Who it is best for
Creators, coaches, and businesses that want to package their knowledge into sellable formats without touching code or managing complicated integrations.
Pricing snapshot
The free plan lets you list products with an 8% transaction fee. Mover plan is around 39 dollars per month and lowers the fee to 5%, while unlocking features like custom domains and email marketing. Shaker plan is around 89 dollars per month and removes Podia’s transaction fees completely, plus adds advanced features like memberships, affiliate marketing, and embedded checkout. Payment processing still incurs standard Stripe or PayPal fees.
Setup steps (quick-start guide)
Log in to Podia and create a new product. Choose from course, download, bundle, webinar, or membership.
Upload your content or paste text directly. Add videos, PDFs, or quizzes if needed.
Organize lessons or modules for a clear learning path.
Set pricing and payment options. Add bonuses or upsells if relevant.
Customize your product page using Podia’s builder.
Publish and promote via Podia’s built-in email marketing or your social channels.
Pro Tips
Combine related blog posts into a structured course. People will pay for the convenience of a curated, step-by-step version.
Offer a low-cost mini-course as a lead-in to a higher-ticket product.
Use Podia’s affiliate feature to let other creators promote your products for a commission.
Pitfalls to avoid
Skipping product page customization can hurt conversions. Make sure your page clearly explains the value and outcomes.
Relying only on Podia’s email feature without building a broader audience may slow your sales.
4. Nas.io (Text → Products, Workshops, Guides)
Nas.io is an AI-powered all-in-one platform designed to help solopreneurs, creators, and small teams turn written content into profitable digital products. You can create guides, workshops, challenges, or courses, and promote them with AI-assisted landing pages, automated email campaigns, and built-in sales tools, all without needing a marketing team.
Who it is best for
Busy creators, side-hustlers, coaches, and small online businesses who want a simple, low-effort way to monetize content, attract customers, and sell digital products without starting from scratch.
Pricing snapshot
Nas.io offers scalable plans depending on features and usage. Its simple setup means you can start selling quickly, and the AI tools help even beginners generate leads and revenue efficiently.
Setup steps (quick-start guide)
Sign up at Nas.io and create a new product.
Upload your written content or paste text directly.
Build a landing page using the AI-assisted page builder.
Set pricing and payment options.
Launch automated email campaigns and share your product.
Pro Tips
Use small, focused guides or workshops as a lead-in to higher-ticket courses.
Let Nas.io’s AI tools help you target the right audience and optimize conversions.
Combine multiple blog posts into a single structured product for more value.
Pitfalls to avoid
Ignoring email follow-ups or lead nurturing can slow growth.
Relying solely on one product, diversify with workshops, guides, or mini-courses.
5. Beacon (Text → Lead Magnets)
Beacon helps you turn existing written content into lead magnets like eBooks, checklists, guides, or resource libraries. It also gives you the tools to capture emails directly from your website with customizable forms and landing pages.
Who it is best for
Content marketers, bloggers, and small businesses who want to grow their email lists by offering high-value downloads without hiring a designer.
Pricing snapshot
The free plan includes basic lead magnet creation with Beacon branding. Next is the Lite plan, which sets you back around 19 dollars per month and removes branding, plus adds more customization. The Professional plan is about 49 dollars per month and includes advanced templates, form integrations, and analytics. The Agency plan is around 99 dollars per month and supports multiple client accounts.
Setup steps (quick-start guide)
Choose a lead magnet type like eBook, checklist, or resource library.
Import your blog post or paste in text. Beacon’s editor will auto-format it into a professional design.
Customize colors, fonts, and images to match your brand.
Add your opt-in form and connect it to your email marketing tool.
Publish the lead magnet on your site, as a pop-up, or within blog posts as a content upgrade.
Pro Tips
Use Beacon’s Blog Post Recycle feature to turn a series of posts into a single downloadable guide.
Create a resource library instead of a single asset. This makes your offer more valuable and keeps people coming back.
Pair your lead magnet with a welcome email sequence to start building trust immediately.
Pitfalls to avoid
Offering generic lead magnets that don’t solve a specific problem will lower opt-in rates.
Forgetting to promote your lead magnet across social channels can slow list growth.
Wrapping Up
Your content doesn’t have to fade into the background after a week. With the right tools, every post, guide, or newsletter can keep working for you—generating leads, sales, and authority long after you hit publish.
Start small. Pick one tool from this list, run a single piece of content through it, and see what happens. Once you’ve nailed the workflow, layer in more tools and channels.
Content is an asset. Treat it like one, and it will start paying dividends that your effort into making it deserves.

 Canva turns chunks of text into ready-to-post visuals in the form of carousel slides, quote cards, social media posts, and more. It offers:
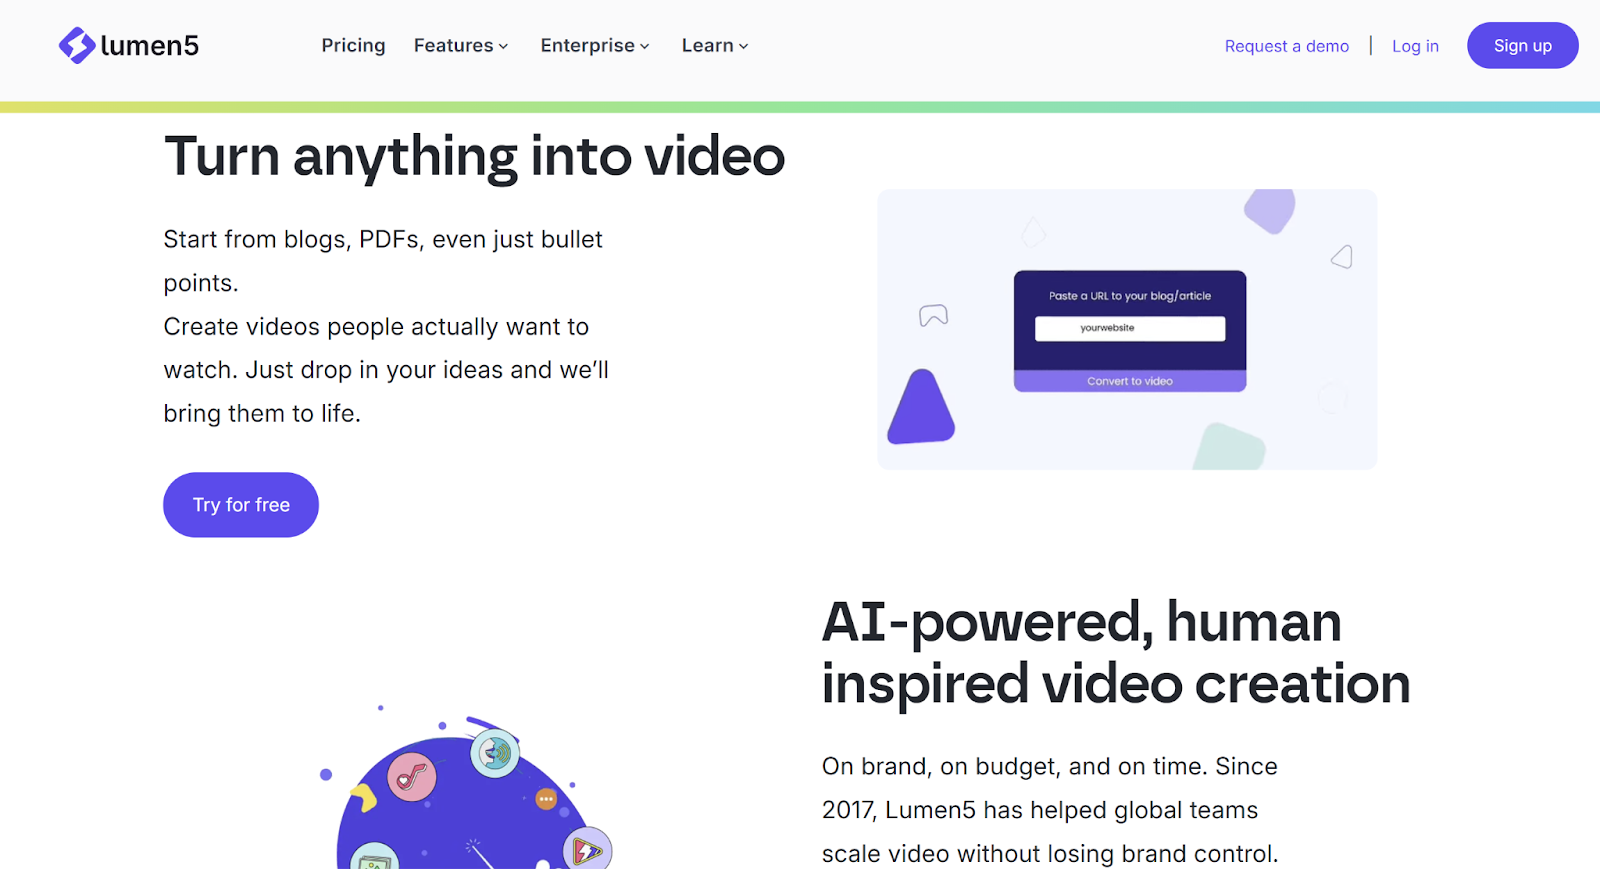 Lumen5 is a video creation platform powered by AI. It lets you turn your blog posts, articles, or documents into short videos in minutes. It breaks your text into a script, matches each scene with visual media, places text optimally, and sets timing—all based on reading speed. It handles the heavy lifting while you stay in the editor’s seat.
Who it is best for
Content creators or marketers who want quick, visual versions of their blog posts. It’s perfect for creating Reels, YouTube Shorts, or LinkedIn clips from your written work. No video editing experience needed.
Pricing snapshot
Community (free forever) gives you limited features, includes Lumen5 branding, 720p resolution, a watermark, and up to five videos per month. The Basic plan is around $29 per month, billed monthly, or about $19 per month billed annually. It adds features like 1080p, custom colors and fonts, 50 million media assets, and removes branding. The Starter and Professional tiers are around $79 to $199 per month, adding more templates, stock assets, brand kits, saved templates, and watermark options.
Setup steps (quick-start guide)
Lumen5 is a video creation platform powered by AI. It lets you turn your blog posts, articles, or documents into short videos in minutes. It breaks your text into a script, matches each scene with visual media, places text optimally, and sets timing—all based on reading speed. It handles the heavy lifting while you stay in the editor’s seat.
Who it is best for
Content creators or marketers who want quick, visual versions of their blog posts. It’s perfect for creating Reels, YouTube Shorts, or LinkedIn clips from your written work. No video editing experience needed.
Pricing snapshot
Community (free forever) gives you limited features, includes Lumen5 branding, 720p resolution, a watermark, and up to five videos per month. The Basic plan is around $29 per month, billed monthly, or about $19 per month billed annually. It adds features like 1080p, custom colors and fonts, 50 million media assets, and removes branding. The Starter and Professional tiers are around $79 to $199 per month, adding more templates, stock assets, brand kits, saved templates, and watermark options.
Setup steps (quick-start guide)
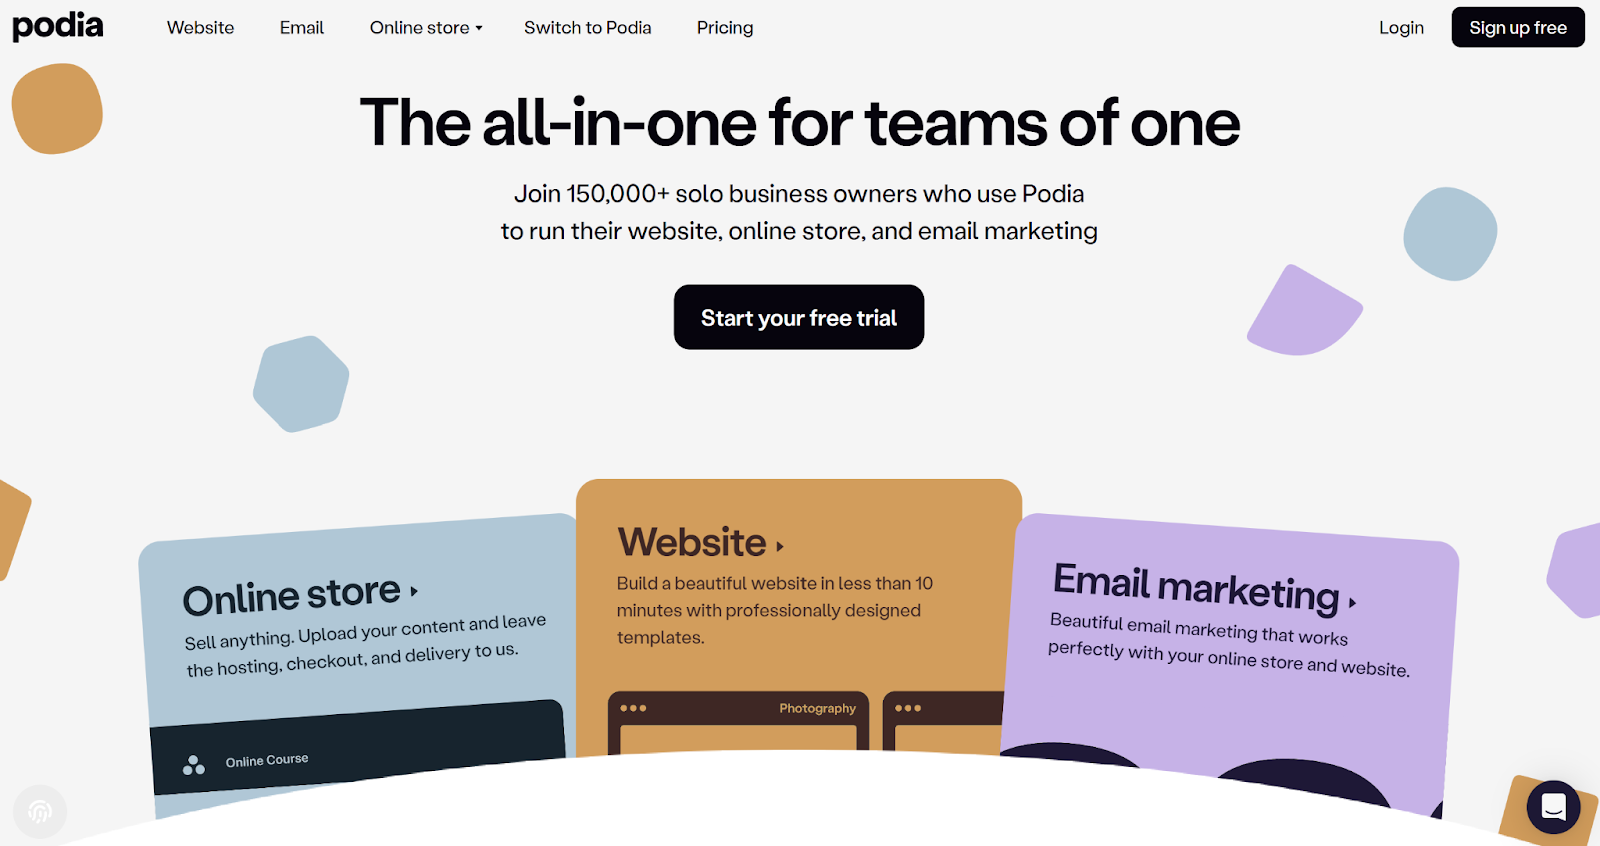 Podia is an all-in-one platform for selling digital products. You can turn your written content into courses, bundles, memberships, downloads, and even host webinars. It comes with built-in website hosting, checkout, and email marketing, so you don’t need to piece together multiple tools.
Who it is best for
Creators, coaches, and businesses that want to package their knowledge into sellable formats without touching code or managing complicated integrations.
Pricing snapshot
The free plan lets you list products with an 8% transaction fee. Mover plan is around 39 dollars per month and lowers the fee to 5%, while unlocking features like custom domains and email marketing. Shaker plan is around 89 dollars per month and removes Podia’s transaction fees completely, plus adds advanced features like memberships, affiliate marketing, and embedded checkout. Payment processing still incurs standard Stripe or PayPal fees.
Setup steps (quick-start guide)
Podia is an all-in-one platform for selling digital products. You can turn your written content into courses, bundles, memberships, downloads, and even host webinars. It comes with built-in website hosting, checkout, and email marketing, so you don’t need to piece together multiple tools.
Who it is best for
Creators, coaches, and businesses that want to package their knowledge into sellable formats without touching code or managing complicated integrations.
Pricing snapshot
The free plan lets you list products with an 8% transaction fee. Mover plan is around 39 dollars per month and lowers the fee to 5%, while unlocking features like custom domains and email marketing. Shaker plan is around 89 dollars per month and removes Podia’s transaction fees completely, plus adds advanced features like memberships, affiliate marketing, and embedded checkout. Payment processing still incurs standard Stripe or PayPal fees.
Setup steps (quick-start guide)
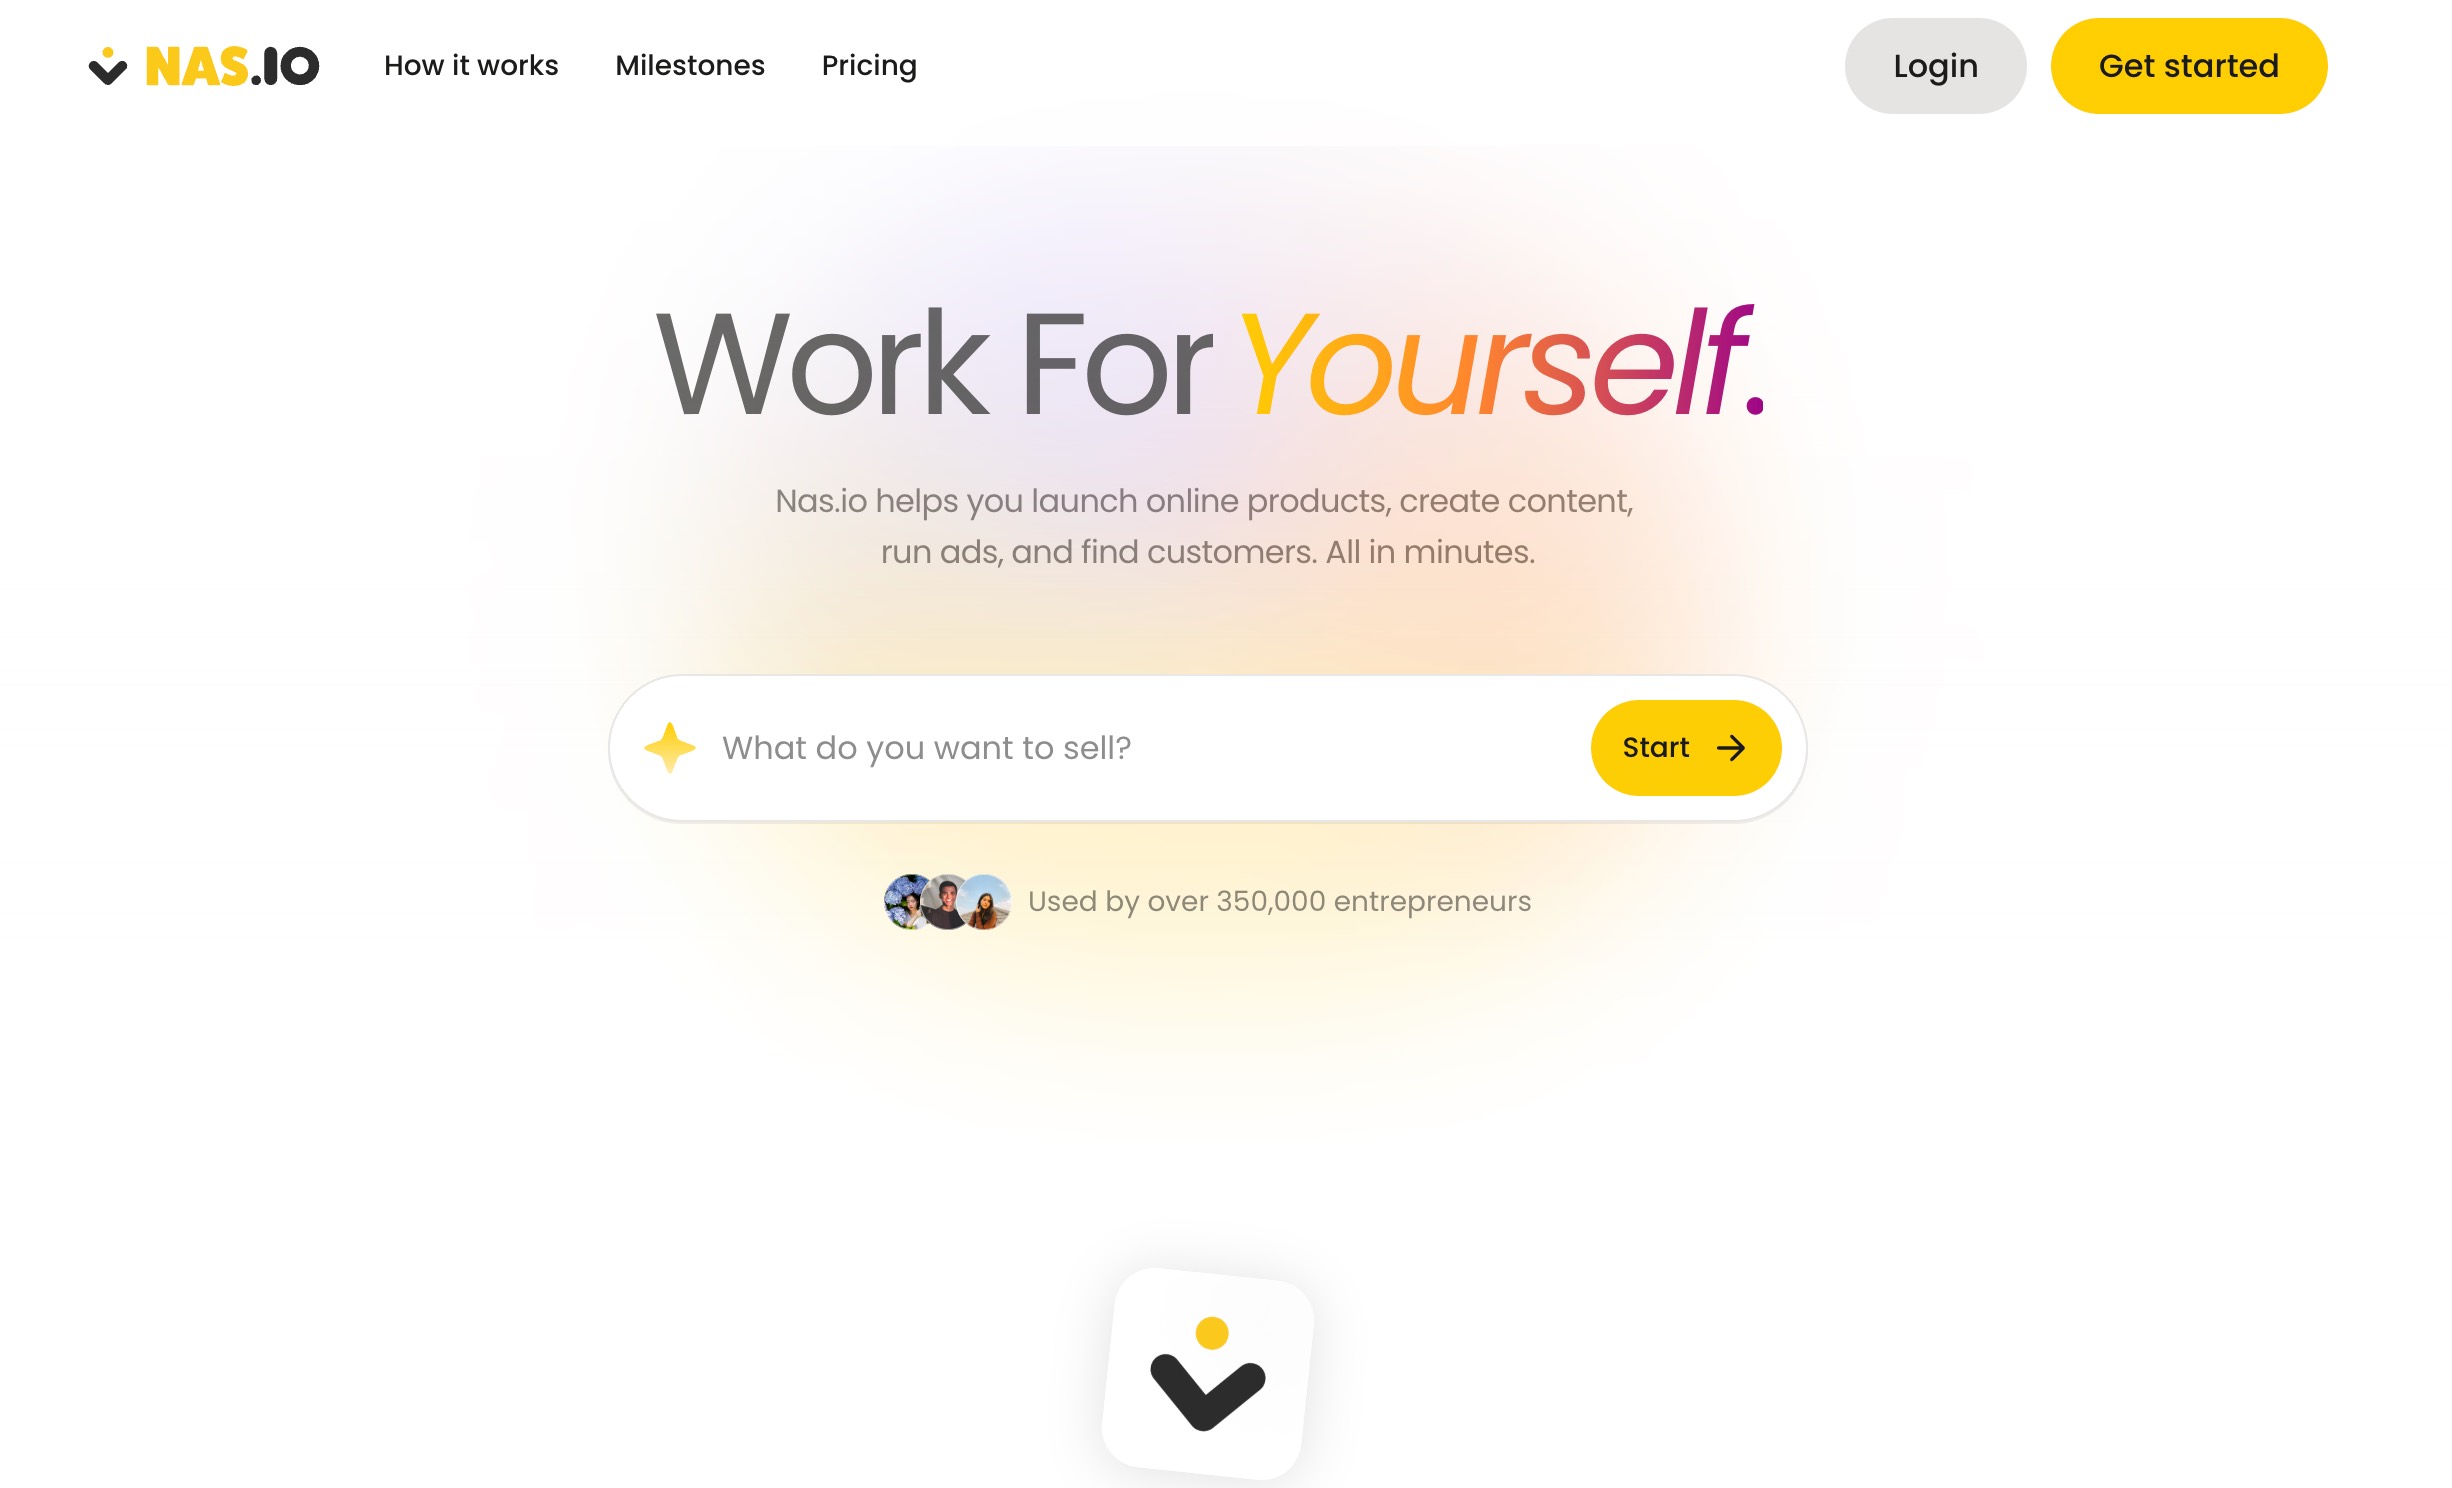 Nas.io is an AI-powered all-in-one platform designed to help solopreneurs, creators, and small teams turn written content into profitable digital products. You can create guides, workshops, challenges, or courses, and promote them with AI-assisted landing pages, automated email campaigns, and built-in sales tools, all without needing a marketing team.
Who it is best for
Busy creators, side-hustlers, coaches, and small online businesses who want a simple, low-effort way to monetize content, attract customers, and sell digital products without starting from scratch.
Pricing snapshot
Nas.io offers scalable plans depending on features and usage. Its simple setup means you can start selling quickly, and the AI tools help even beginners generate leads and revenue efficiently.
Setup steps (quick-start guide)
Nas.io is an AI-powered all-in-one platform designed to help solopreneurs, creators, and small teams turn written content into profitable digital products. You can create guides, workshops, challenges, or courses, and promote them with AI-assisted landing pages, automated email campaigns, and built-in sales tools, all without needing a marketing team.
Who it is best for
Busy creators, side-hustlers, coaches, and small online businesses who want a simple, low-effort way to monetize content, attract customers, and sell digital products without starting from scratch.
Pricing snapshot
Nas.io offers scalable plans depending on features and usage. Its simple setup means you can start selling quickly, and the AI tools help even beginners generate leads and revenue efficiently.
Setup steps (quick-start guide)